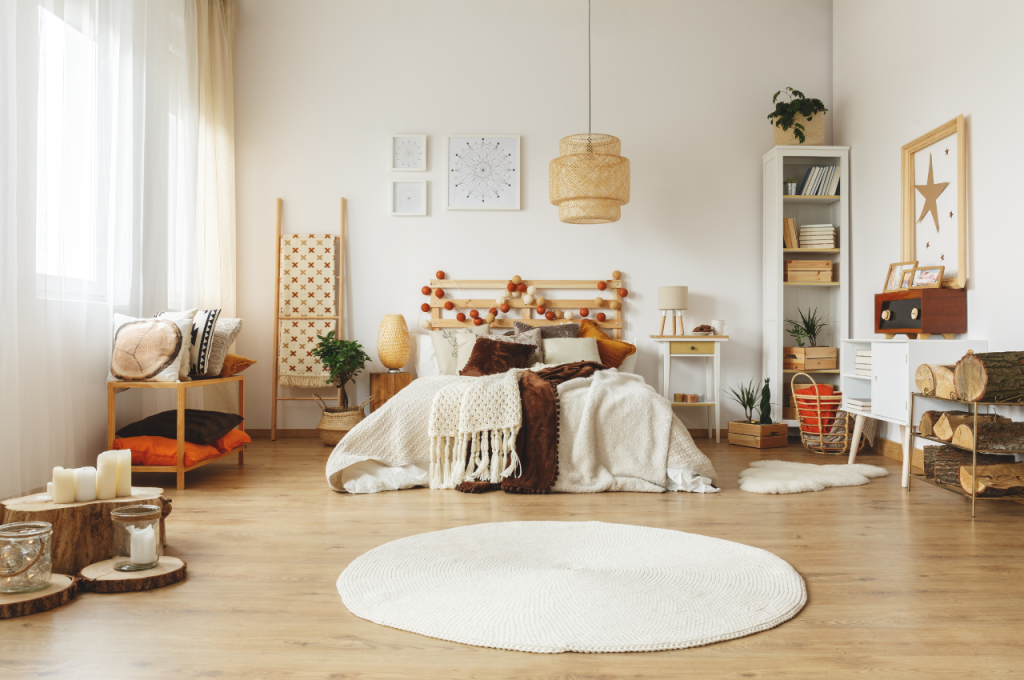
For Cute DIY room decor ideas, consider incorporating personalized elements to reflect your style and personality. Adding personal touches can make your space feel unique and inviting, while also showcasing your creativity.
Whether it’s handmade wall art, customized accessories, or upcycled furniture, DIY room decor allows you to infuse your space with a sense of charm and individuality. By incorporating DIY elements into your room decor, you can create a space that is not only visually appealing but also meaningful to you.
Embrace your creativity and have fun designing a space that truly feels like home.
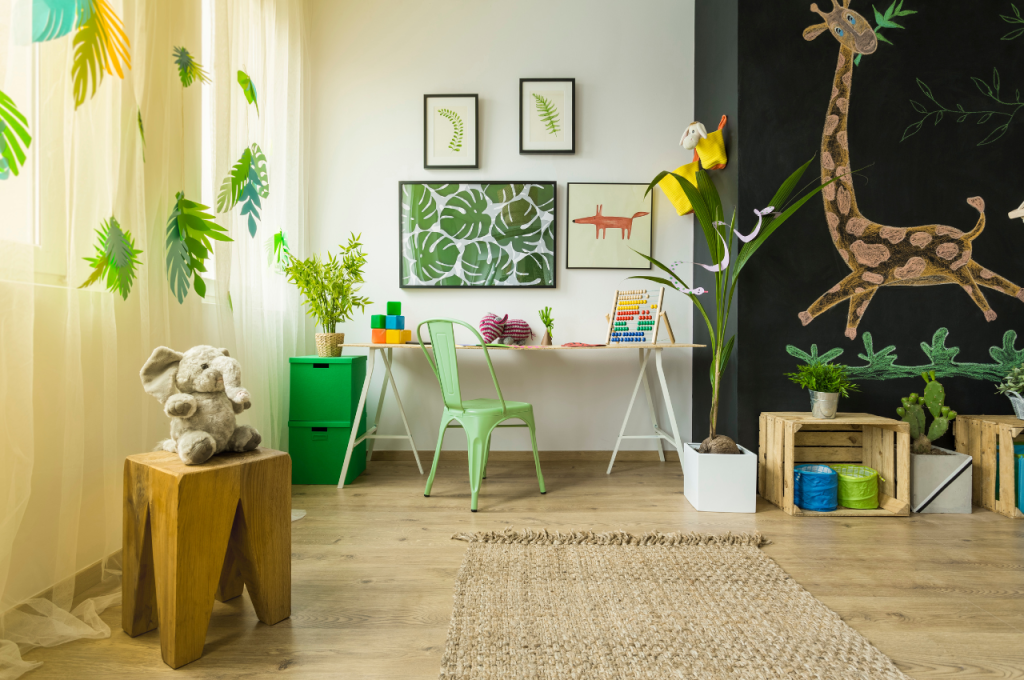
Get Inspired With Diy Room Decor Ideas
Get inspired with a plethora of creative DIY room decor ideas that will transform your space into a reflection of your unique style and personality.
Find Your Style
Explore various styles like modern, bohemian, or minimalist for your DIY room decor.
Gather Materials and Tools
Get essentials like glue, scissors, paint, and materials – fabric, paper, or wood.
Diy Wall Art: Personalized and Creative
Get ready to add a touch of personality to your space with these Diy Wall Art ideas that are both personalized and creatively captivating.
Custom Photo Frame Collage
Create a unique focal point by assembling a custom photo frame collage featuring your favorite memories.
- Choose a variety of frame styles and sizes for added visual interest.
- Arrange the frames in a visually appealing pattern on your wall.
- Include treasured photos, postcards, and art prints to personalize the display.
Abstract Canvas Painting
Unleash your inner artist with abstract canvas paintings that reflect your style.
- Experiment with different color palettes and brush strokes to create a one-of-a-kind piece.
- Allow your creativity to flow freely without strict guidelines or boundaries.
- Hang your abstract masterpiece proudly as a statement piece in your room.
Upcycle Furniture: From Drab to Fab
Transforming your living space into a cozy and personalized oasis doesn’t have to break the bank. Upcycling furniture is a fantastic way to breathe new life into tired pieces and add personality to any room. With some creativity and a little elbow grease, you can turn drab furniture into fab focal points. From chalk paint side tables to reupholstered chairs, these DIY projects will add charm and character to your space without costing a fortune.
Chalk Paint Side Table
Bring outdated side tables back to life with a pop of color and personality using chalk paint. Whether you prefer a subtle distressed look or a bold, vibrant finish, chalk paint offers versatility and a touch of whimsy to any piece. It’s a simple yet effective way to add a touch of charm to your room without investing in new furniture. With a few coats of chalk paint and some sanding for a distressed effect, your side table will become a statement piece.
Reupholstered Chair
Giving an old chair a new lease on life is as simple as reupholstering the fabric. Whether you opt for a fresh, modern pattern or a classic, timeless fabric, reupholstering allows you to tailor the chair to your style. With some basic DIY skills and a staple gun, it’s easy to transform a tired, worn-out chair into a stunning focal point. You’ll be amazed at the impact a new fabric can make on the overall look and feel of your room.
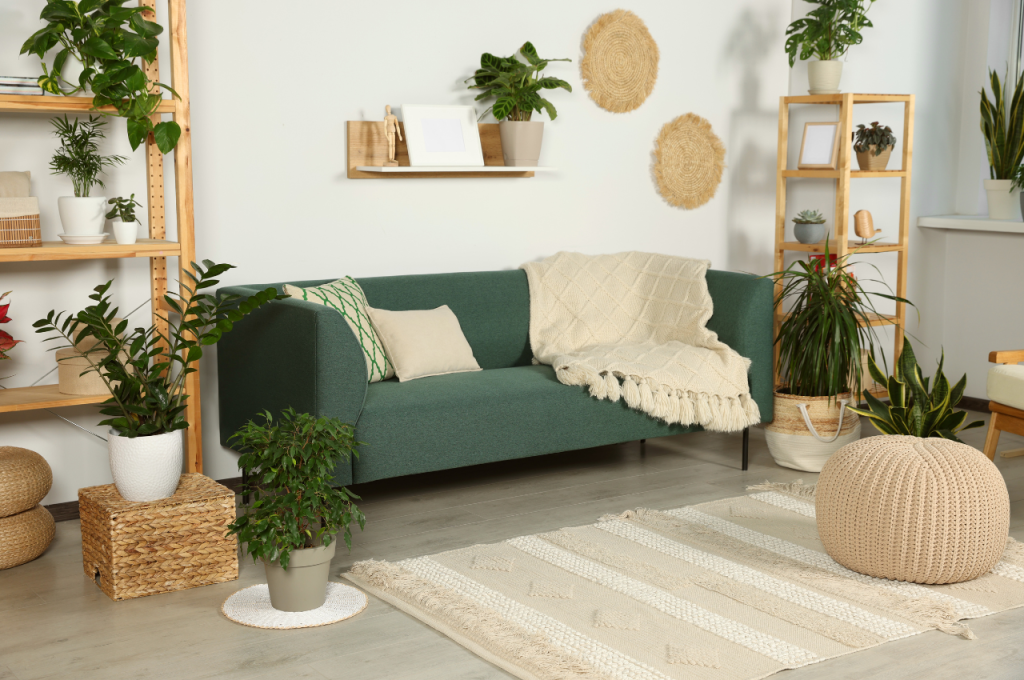
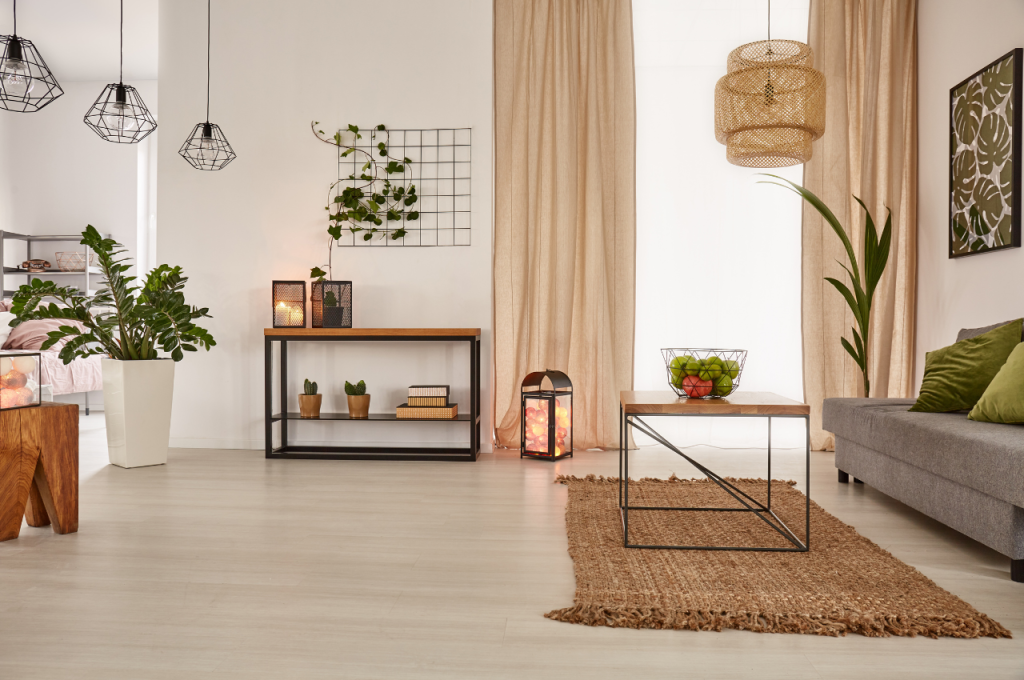
Diy Room Decor With Natural Elements
Incorporating natural elements into your room decor can instantly create a calming and refreshing atmosphere. From macrame plant hangers to terrariums and botanical displays, there are numerous ways to bring the beauty of nature indoors. These simple and budget-friendly DIY projects will help you transform your room into a serene oasis. Let’s explore a few ideas for bringing natural elements into your room through creative DIY decor.
Macrame Plant Hangers
Macrame plant hangers have become incredibly popular in recent years, and for good reason. These intricate designs not only serve as a stylish way to display your favorite plants but also add a touch of boho charm to any room. Making your macrame plant hangers is surprisingly easy and requires only a few basic materials.
To create a macrame plant hanger, start by gathering some natural jute or cotton cord, a metal ring, and a pair of scissors. Follow these simple steps:
- Measure and cut four equal-length pieces of cord, about 5 feet long each.
- Fold the cords in half and loop them through the metal ring, creating a secure knot.
- Divide the cords into four sets of two, and tie a series of square knots about a foot down from the metal ring.
- Continue tying square knots until you reach the desired length for your plant hanger.
- Finally, gather all the cords together at the bottom and tie a knot to secure your plant pot in place.
Hang your finished macrame plant hanger near a window or in a cozy corner to create an eye-catching display of greenery in your room.
Terrariums and Botanical Displays
If you’re looking for a low-maintenance way to bring natural elements into your room decor, terrariums and botanical displays are the perfect choice. These miniature ecosystems not only add a touch of green to your room but also serve as captivating focal points. Creating your terrarium is a fun and rewarding DIY project that allows you to unleash your creativity.
Here’s a step-by-step guide to help you get started:
- Choose a clear glass container that suits your style, whether a mason jar, fish tank, or geometric terrarium.
- Add a layer of small rocks or pebbles at the bottom of the container to promote drainage.
- Next, add a layer of activated charcoal to keep the terrarium fresh and prevent fungal growth.
- Add a layer of potting soil, making sure it’s deep enough to accommodate the roots of your chosen plants.
- Plant an assortment of small succulents, ferns, or air plants, arranging them in a visually pleasing way.
- Finish off your terrarium by adding decorative elements like moss, rocks, or miniature figurines.
- Place your terrarium in a well-lit area, but away from direct sunlight.
- Remember to mist your terrarium occasionally to maintain the right level of moisture.
Not only are terrariums a beautiful addition to your room decor, but they also require minimal care, making them ideal for those without a green thumb.
Bring Nature Indoors With Diy Room Decor
Adding natural elements to your room decor is an excellent way to create a tranquil and harmonious space. Whether you choose to make macrame plant hangers or create stunning terrariums, these DIY projects will not only enhance the aesthetic appeal of your room but also introduce a calming ambiance. So, gather your materials, set aside some time, and let your creativity flourish as you bring the charm of nature indoors with DIY room decor.
Functional and Stylish Diy Storage Solutions
Creating a functional and stylish room doesn’t have to be expensive. With some simple DIY storage solutions, you can transform your space while keeping clutter at bay. In this blog post, we’ll explore two creative ways to add storage to your room: floating shelves and fabric-covered storage boxes. These ideas are not only practical but also add a touch of personality to your space.
Floating Shelves
One of the easiest and most versatile ways to add storage to your room is by installing floating shelves. These shelves are mounted on the wall, giving the illusion that they are floating without any visible brackets or supports. Floating shelves are aesthetically pleasing and provide a convenient space to display your favorite items while keeping them easily accessible.
Installing floating shelves is a simple DIY project that requires minimal tools and materials. Here’s a step-by-step guide to creating your floating shelves:
- Measure and mark the desired location of your shelves on the wall.
- Use a stud finder to locate the wall studs.
- Attach the shelf brackets to the wall, ensuring they are level and aligned with the marks.
- Place the shelf board on top of the brackets and secure it with screws.
- Repeat the process for each shelf, spacing them evenly.
Once your floating shelves are installed, you can use them to store and display a variety of items, such as books, plants, decorative pieces, or even organizing baskets. Choose shelves that complement the overall style of your room to create a cohesive look.
Fabric Covered Storage Boxes
If you’re looking for a versatile and stylish way to store smaller items, fabric-covered storage boxes are the perfect solution. These DIY storage boxes not only provide a functional space to keep your belongings organized, but they also add a pop of color and texture to your room.
To create fabric-covered storage boxes, you’ll need the following materials:
- Cardboard boxes
- Fabric of your choice
- Scissors
- Glue or adhesive spray
Here’s how you can make your fabric-covered storage boxes:
- Measure and cut the fabric to fit around the cardboard box, leaving a few extra inches on each side.
- Apply glue or adhesive to the box, starting with one side.
- Wrap the fabric tightly around the box, pressing it firmly to ensure it adheres to the glue.
- Repeat the process for the remaining sides of the box, smoothing out any wrinkles or creases.
- Trim any excess fabric and secure it in place.
Once your fabric-covered storage boxes are complete, you can use them to store a variety of items, such as accessories, and craft supplies, or even as a stylish solution for those miscellaneous loose items that tend to clutter up a space.
With these functional and stylish DIY storage solutions, you can declutter your room while adding a personal touch to your space. Whether you opt for floating shelves or fabric-covered storage boxes, these projects are sure to enhance both the functionality and style of your room, giving you a clean and organized space that is uniquely yours.
Conclusion
Incorporating DIY room decor can add a personal touch to any living space. With these creative ideas, you can transform your room into a cozy and stylish haven. Embrace your creativity and infuse your personality into your home decor.
Get inspired and start crafting your way to a more inviting and charming room.