To paint your study room, start by choosing a color scheme that promotes focus and productivity. Prep the room by cleaning walls, taping off edges, and protecting floors.
Apply primer and then paint walls evenly with a roller and brush for trim. Aim for a smooth finish and allow ample drying time between coats for best results. Personalizing your study room with a fresh coat of paint can transform the space into a productive and inspiring environment.
By following the right steps and selecting colors that align with your study goals, you can create a space that enhances concentration and creativity. In this guide, you will learn everything you need to know about painting your study room effectively and efficiently. Let’s dive in and explore the steps to refresh your study room with a new coat of paint.
Choosing The Right Color Palette
The first step in painting your study room is selecting the perfect color palette. Consider the mood and ambiance you want to create in the space. Soft, neutral tones like whites, grays, and beiges promote a serene and calming atmosphere, perfect for focused work.
Considering The Room’s Purpose
Your study room’s color scheme should align with its function and atmosphere. Reflect on the purpose of the space and the mood you want to create.
Exploring Various Color Schemes
Explore different color schemes to find what resonates with you. Consider monochromatic, complementary, analogous, or neutral palettes. Experiment with colors that promote focus and productivity.
Preparation and Planning
Before you dive into painting your study room, proper preparation and planning are key to achieving a successful outcome. This phase includes assessing the room’s current condition and determining the required paint quantity and tools.
Assessing The Current Condition of The Room
- Check for cracks, dents, or imperfections on the walls that need to be fixed before painting.
- Ensure the walls are clean and dry to allow the paint to adhere properly.
- Consider the existing color of the walls and whether it will require additional coats.
Determining Paint Quantity and Tools Needed
| Item | Quantity |
| Paint | Calculate based on room size and desired coats |
| Paintbrushes/Rollers | Ensure you have various sizes for different areas |
| Painter’s Tape | For protecting edges and trims |
| Drop Cloths | To protect floors and furniture |
| Sandpaper | For smoothing surfaces before painting |
Surface Preparation
Surface preparation is a crucial step in achieving a professional finish when painting your study room. By properly cleaning, repairing, and priming the walls, you can ensure a smooth and long-lasting result. Let’s walk through the steps of surface preparation to help you achieve the best painting outcome for your study room.
Cleaning and Repairing Walls
Before diving into painting, it’s essential to clean the walls thoroughly. Use a mixture of mild soap and water to remove any dirt, dust, or grease, ensuring a clean canvas for your paint. Additionally, inspect the walls for any cracks, holes, or imperfections. These should be repaired using a spackling compound and sanded down to create a smooth surface.
Priming The Surface
Once the walls are clean and repaired, it’s time to apply a coat of primer. Priming is important as it helps the paint adhere better to the walls and improves its durability. Choose a high-quality primer suitable for your wall type, whether it’s drywall, plaster, or previously painted walls. Apply the primer evenly using a roller or brush, and allow it to dry completely before painting.
Painting Techniques and Tips
When it comes to painting your study room, there are a few key techniques and tips that can help you achieve a professional-looking finish. From choosing the right paint finish to utilizing proper painting tools and methods, these steps will ensure your study room becomes a vibrant and inspiring space.
Choosing The Right Paint Finish
Choosing the right paint finish is crucial in determining the final look and durability of your study room walls. Here are a few popular paint finishes you can consider:
- Flat Finish: Ideal for hiding imperfections on walls, a flat finish is perfect for areas with low traffic.
- Eggshell Finish: This finish offers a subtle sheen that is easy to clean, making it suitable for spaces like study rooms.
- Satin Finish: With a bit more gloss, satin finish works well in high-traffic areas, providing durability and easy maintenance.
- Semi-Gloss Finish: Offering a shiny, reflective surface, this finish is perfect for highlighting trims and moldings around your study room.
Utilizing Proper Painting Tools and Methods
Having the right tools and adopting the correct painting methods can make a significant difference in the outcome of your study room’s paint job. Here are some key points to keep in mind:
Tools for a Smooth Painting Process
Equipping yourself with the right tools will ensure a smoother painting process:
- Painter’s Tape: Use painter’s tape to protect areas such as trims, ceilings, and baseboards from accidentally getting painted on.
- Drop Cloths: Use drop cloths to cover and protect your furniture and flooring from paint splatters.
- Roller and Brushes: Invest in high-quality rollers and brushes that suit the type of paint finish you have chosen.
- Paint Tray: A paint tray will make the process of loading your roller with paint quicker and more efficient.
Painting Techniques for a Flawless Finish
Implementing the right painting techniques can help you achieve a flawless finish:
- Priming: Before you start painting, make sure you prime your walls to create a smooth surface that allows the paint to adhere better.
- Cutting-in: Use a brush to cut in along the edges and corners of your walls before using a roller for larger areas.
- Rolling: Apply the paint using a roller in a “W” or “M” pattern, ensuring even coverage and avoiding visible roller marks.
- Drying Time: Allow sufficient drying time between coats to avoid smudging or peeling.
- Clean Up: Clean your brushes, rollers, and trays promptly after painting to ensure they are ready for future use.
By following these painting techniques and utilizing the right tools, you’ll be able to transform your study room into a space that radiates creativity and productivity.
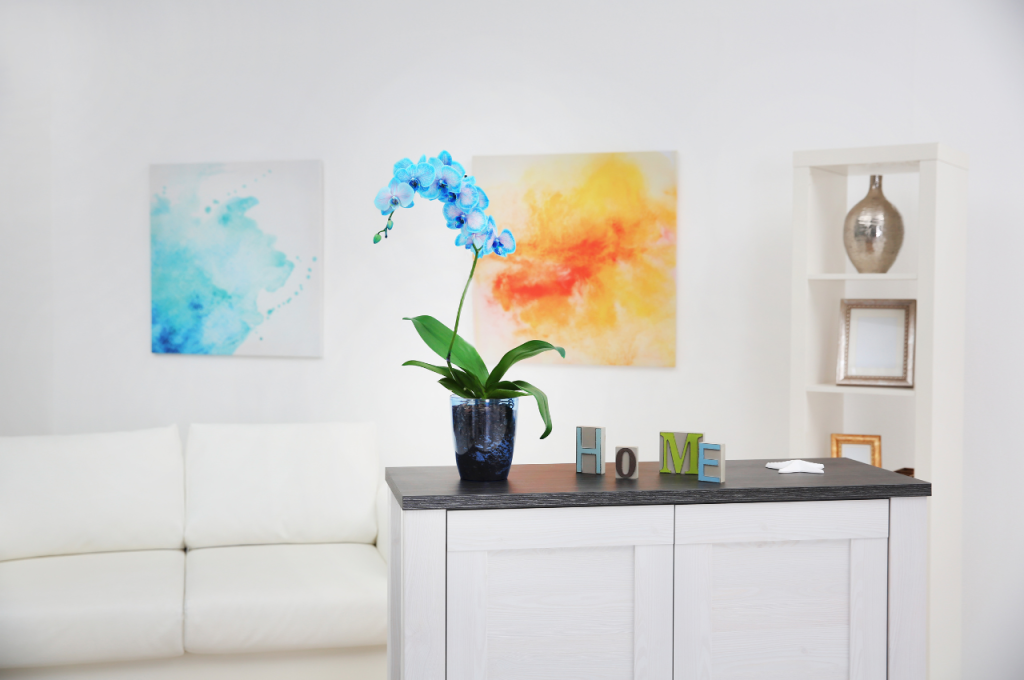
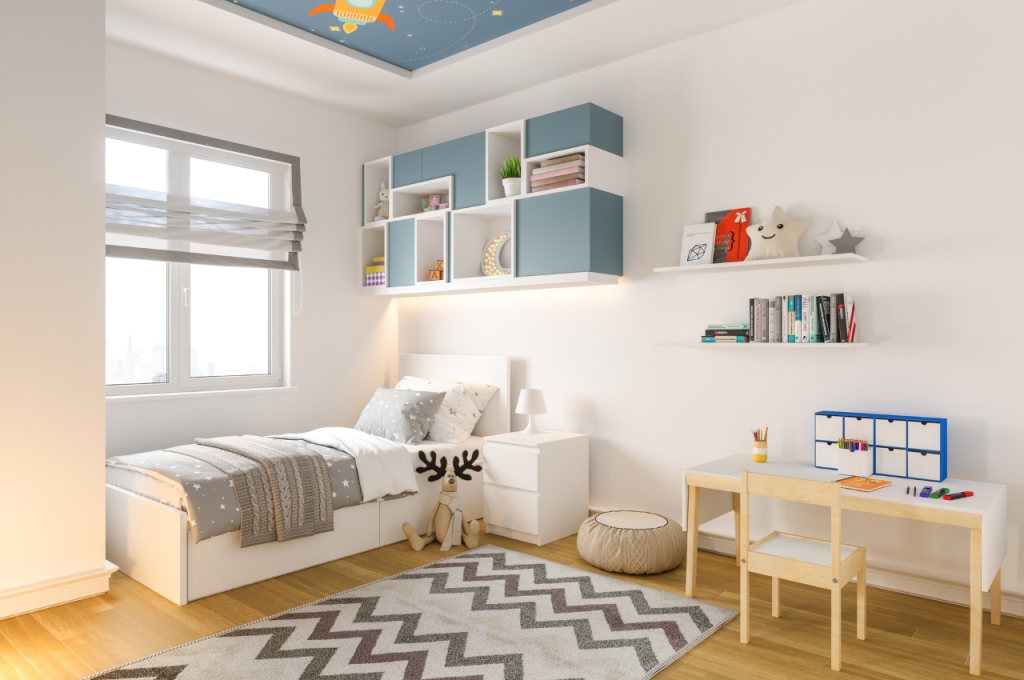
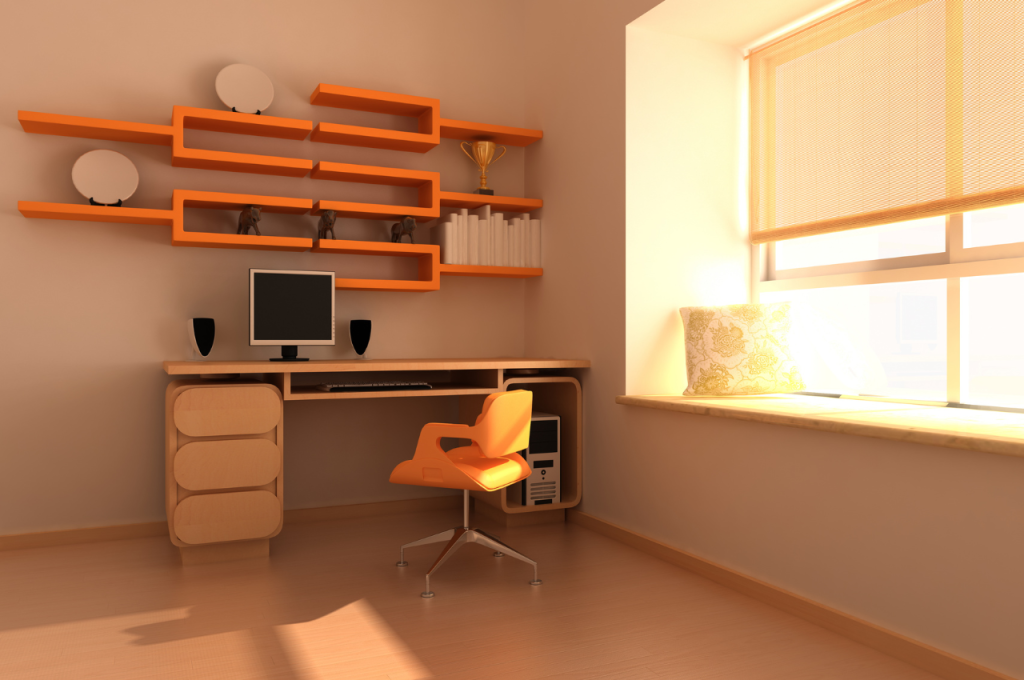
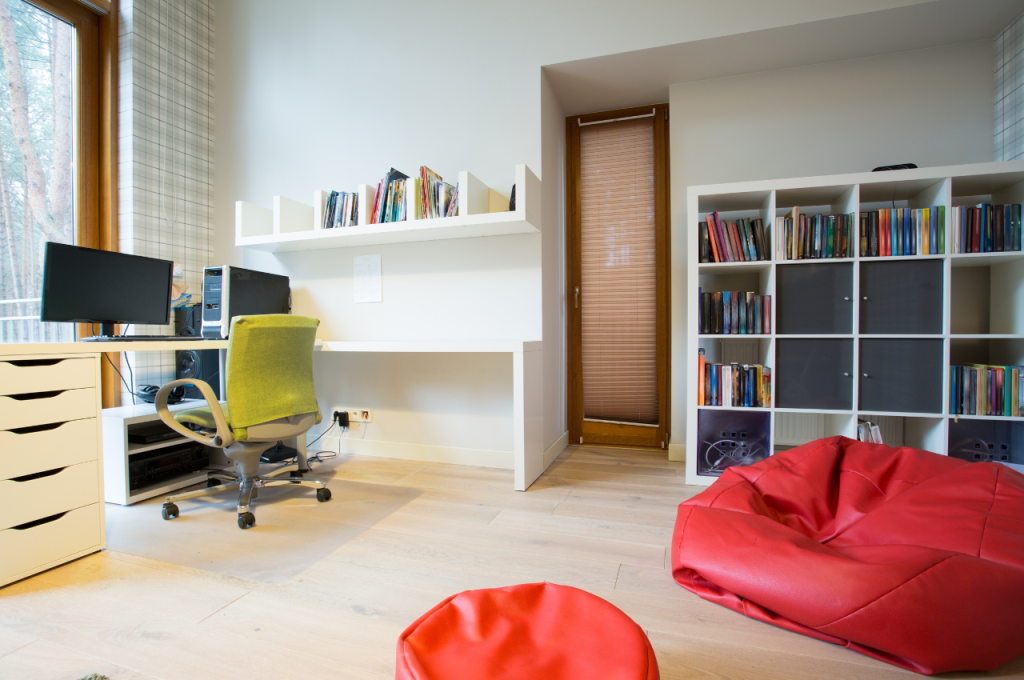
Creating Visual Interest
Painting your study room is the perfect opportunity to create visual interest and personalize your space. Choose a color scheme that reflects your style and add accents like wall art or a statement piece of furniture to make it uniquely yours.
Incorporating Accent Walls
The key to creating a visually interesting study room is to incorporate accent walls. An accent wall is a single wall that is painted differently from the rest of the room, adding a pop of color or a unique design element. This technique not only adds visual interest but also gives the room a focal point. You can choose to paint the accent wall in a bold color you can experiment with different textures or patterns to create a striking effect. To incorporate an accent wall that truly stands out, consider the following tips:
- Choose a wall that naturally draws attention, such as the wall behind your desk or the wall opposite the entrance.
- Opt for a color that complements the rest of the room’s decor and enhances the overall aesthetic.
- Create a contrast by selecting a color that is significantly different from the surrounding walls.
- Add depth and visual interest by incorporating textured paint techniques, such as color washing or rag rolling.
- If you prefer a more subtle accent, consider using stripes or geometric patterns.
Using Patterns and Textures
Use patterns and textures in your paint job. Patterns can add a sense of dynamism and creativity, while textures can provide depth and dimension to your walls. Here are some ideas on how to incorporate patterns and textures:
- Wallpaper: Consider using wallpaper with interesting patterns or textures on one or more walls. This can instantly transform the look and feel of your study room.
- Stencils: Stencils are a cost-effective way to add patterns to your walls. They come in various shapes and sizes, allowing you to create unique designs.
- Faux finishes: Experiment with faux finishes, such as marble or stone, to add a luxurious touch to your study room.
- Textured paint: Opt for paints that offer a textured finish, such as suede or sandstone. These types of paint will give your walls a tactile and visually appealing look.
enhance the overall aesthetic appeal while making the space feel more visually engaging and inspiring. Remember, creating visual interest in your study room is all about expressing your unique style and making the space a reflection of your personality. Whether you choose to incorporate an accent wall or play with patterns and textures, the goal is to create a visually stimulating environment that motivates you to be productive and creative.
Lighting and Its Impact
When it comes to painting your study room, one crucial factor that often gets overlooked is lighting. The right lighting can enhance the ambiance of the room and influence the way colors appear on the walls. Understanding the impact of both natural and artificial light and how it can affect the choice of paint colors is essential for creating a harmonious and visually appealing study space.
Understanding Natural and Artificial Light
Natural light from windows can vary throughout the day, impacting the way paint colors are perceived. Direct sunlight can make colors appear more vibrant, while shaded areas may appear duller. Artificial lighting, such as warm or cool-toned bulbs, also plays a role in how colors are perceived. Understanding these variations in light sources is crucial for selecting the right paint colors.
Selecting Colors Based on Lighting
When selecting paint colors for your study room, consider the lighting conditions. Lighter shades are suitable for rooms with limited natural light as they can help brighten up the space. Cool colors work well in rooms with ample natural light, while warm colors can create a cozy atmosphere in rooms with minimal natural light. Testing paint samples in the room under different lighting conditions can help you determine the most flattering colors.
Furniture and Decor Coordination
Looking to paint your study room? Coordinate your furniture and decor by choosing a color scheme that complements your existing pieces. Consider the style and ambiance you want to create and select a paint color that enhances the overall aesthetic.
Harmonizing Paint Colors with Furniture
Incorporate complementary hues with your furniture to create a cohesive look. Consider warm paint shades for wooden furniture and cool tones for modern pieces. Ensure your furniture stands out against the wall color for a harmonious balance. Choose paint colors that enhance the style and texture of your furniture.
Enhancing The Room’s Ambiance
Integrate accent colors from your furniture into your paint scheme. Add decorative elements that tie in with both the furniture and paint colors. Illuminate the room with proper lighting to accentuate the furniture and paint colors. Use textures in your decor to complement the furniture and paint choices. Implementing these strategies will ensure your study room is a cohesive and stylish space.
Final Touches and Maintenance
Adding the final touches to your freshly painted study room can enhance the overall look and feel. Maintenance is crucial to sustaining the beauty of the painted walls.
Adding Finishing Details
1. Consider hanging decorative artwork or mirrors on the walls for a personal touch.
2. Add a cozy rug or curtains that complement the wall color for a harmonious look.
3. Incorporate indoor plants or colorful cushions to bring life into the space.
Maintaining The Painted Room
1. Regularly dust or wipe down walls with a damp cloth to keep them looking fresh.
2. Fix any scratches or scuff marks promptly by touching up the paint.
3. Avoid using harsh cleaning chemicals that can damage the paint finish.
Frequently Asked Questions how do I paint my study room?
Certainly! Here are some frequently asked questions (FAQs) about creating an inspiring study room:
Q. How should I prepare my study room before painting?
To prepare your study room for painting, start by clearing the room of furniture and covering the floor with drop cloths. Remove any wall fixtures or outlet covers. Clean the walls and repair any holes or imperfections. Apply primer if needed and then you’re ready to start painting!
Q. What type of paint should I use for my study room?
The best type of paint for a study room is a low sheen or matte finish paint. This will help reduce glare and provide a smooth and even finish. Choose a paint specifically formulated for interior walls and consider using a paint with low VOCs for better air quality.
Q. How do I choose the right color for my study room?
Consider the purpose and atmosphere you want to create in your study room. Lighter colors like soft blues or greens can create a calming environment, while bold and vibrant colors like red or yellow can add energy and creativity. Consider the lighting in your room and how the color will appear in different lighting conditions.
Conclusion
Painting your study room can breathe new life into the space. With the right colors and techniques, you can create a productive and inviting atmosphere.
From choosing the right paint to proper preparation, following these steps will ensure a successful study room transformation.
Happy painting!