To style a picture wall, arrange frames with varying sizes and shapes for visual interest. Create a cohesive look by using a common color scheme or theme throughout the display.
Experiment with different layouts by laying out the frames on the floor before hanging them. Consider incorporating personal touches like artwork, photographs, or other decor items to make the wall uniquely yours. Remember to balance the spacing between frames for an appealing overall look.
By following these tips, you can create a stylish and personalized picture wall that enhances the aesthetic of your space.
Choosing the Right Wall
When styling a picture wall, selecting the right wall is essential to create a balanced and visually appealing display. Before you begin, consider the overall space and lighting conditions of the chosen wall.
Consider the Space
- Assess the size and layout of the wall.
- Ensure there is enough space for your desired arrangement.
Assess Lighting Conditions
- Check for natural light sources that might affect the display.
- Consider adding artificial lighting for a more dramatic effect.
Selecting the Pictures
When it comes to styling a picture wall, selecting the pictures is a crucial step that sets the tone for your entire display. From choosing a theme and color scheme to mixing sizes and shapes, each decision contributes to the overall impact of your picture wall. Let’s delve into the key aspects of selecting the pictures for your picture wall.
Theme and Color Scheme
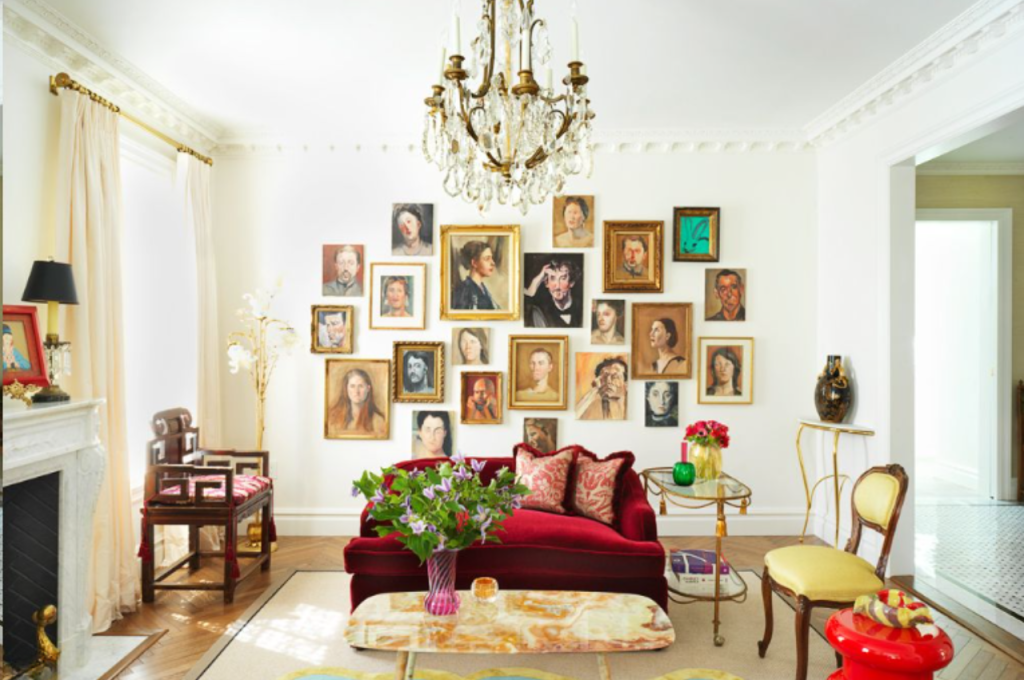
Choosing a theme and color scheme for your picture wall sets the ambiance and visual cohesion. Consider the atmosphere you want to create and the story you want the display to tell. Whether it’s a collection of travel memories, family portraits, or a mix of eclectic art, establishing a theme will guide your picture selection.
Mixing Sizes and Shapes
By mixing and matching sizes and shapes, you add dynamic visual interest to your picture wall. Incorporating different dimensions creates depth and movement, preventing the display from appearing flat and monotonous. Don’t be afraid to experiment with various frame shapes and orientations to achieve a captivating arrangement.
Creating A Layout
Styling a picture wall can be a fun and creative way to showcase your favorite photos and artwork. One of the key elements in achieving a visually appealing picture wall is creating a well-thought-out layout. In this section, we will discuss the important aspects of planning the arrangement and playing with symmetry and asymmetry.
Planning the Arrangement
Before you start hanging your pictures, it’s crucial to plan the arrangement. This step will help you visualize how the final picture wall will look and ensure a balanced composition. Here are some tips to consider:
- Measure the wall space: Begin by measuring the wall space where you intend to create the picture wall. This will give you a clear idea of the available area and help you determine the number and size of pictures you can include.
- Choose a focal point: Select a focal point for your picture wall, such as a larger piece of artwork or a family portrait. Placing this at the center will anchor the design and guide your eye toward it.
- Vary the sizes and shapes: Mix different sizes and shapes of pictures to create visual interest. Combine large frames with smaller ones for a dynamic look.
Playing With Symmetry and Asymmetry
Symmetry and asymmetry are two common techniques used to create a layout for a picture wall. Each technique offers a different aesthetic appeal and can be used to complement your existing home decor. Here’s how you can experiment with both:
Symmetry:
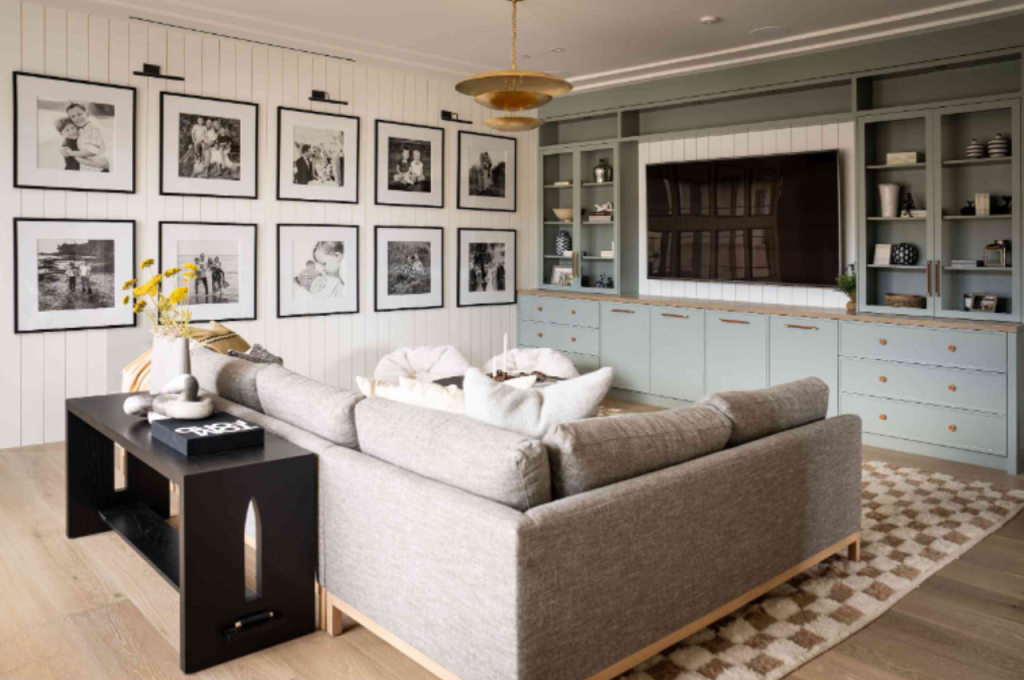
- Create a grid pattern: Arrange your pictures in a grid pattern, with each picture positioned evenly apart. This symmetrical layout provides a clean and organized look.
- Use identical frames: Opt for identical frames to maintain a cohesive and balanced appearance. This creates a sense of harmony and order within the picture wall.
- Add symmetry through grouping: Group pictures of similar shapes or subjects together. Align them horizontally or vertically to create symmetry within the arrangement.
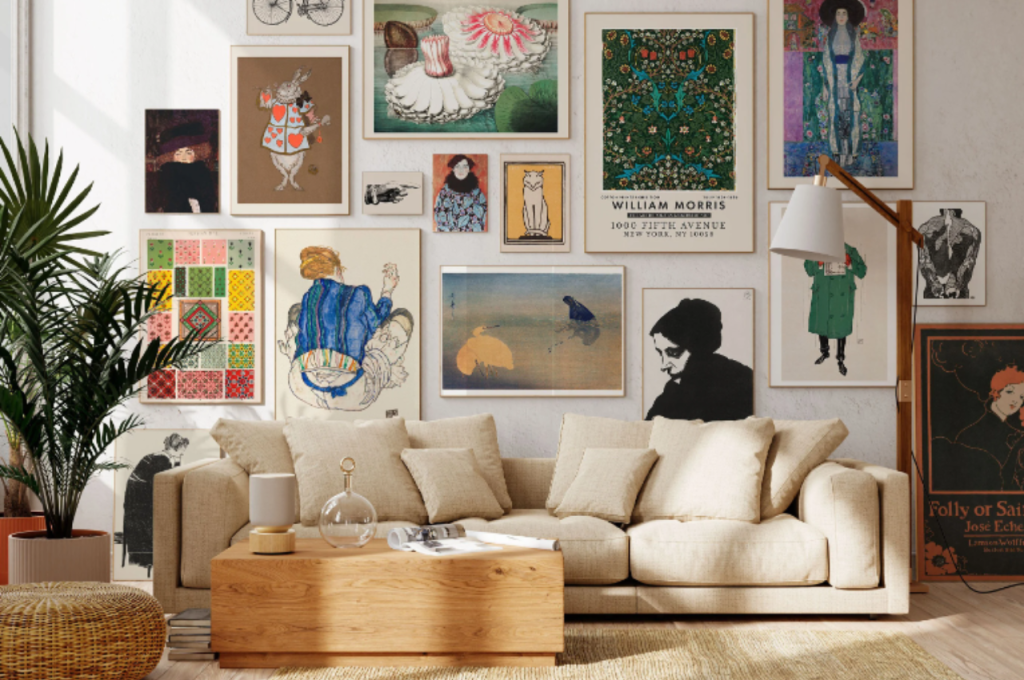
Asymmetry:
- Experiment with angles: Instead of aligning pictures in a straight line, try angling them at different orientations. This adds dynamic energy to the overall layout.
- Mix frame styles: Incorporate a mix of frame styles and sizes to add visual interest. This eclectic approach creates a unique and personalized picture wall.
- Layer the pictures: Overlapping or layering pictures can give a sense of depth and dimension. Play around with positioning and overlapping to achieve an asymmetrical look.
By exploring different layout options and combining symmetrical and asymmetrical techniques, you can create a picture wall that showcases your style and adds a captivating visual element to your space.
Prepping the Wall
Prepare the wall by selecting picture frames of various sizes and styles. Lay the frames on the floor to arrange and rearrange until you find a pleasing layout. Once you’re satisfied, mark the placement of each frame on the wall before hanging them up.
Cleaning and Repairing
Before you start styling your picture wall, it’s important to prep the wall by cleaning and repairing any damages. By doing this, you ensure a fresh canvas for your artwork and prevent any distractions.
Cleaning
To clean the wall, start by removing any dust or dirt using a dry cloth or duster. Make sure to reach every corner of the wall and pay extra attention to areas around frames or hanging hooks as they tend to accumulate more dust. By cleaning the wall beforehand, you create a clean and polished base for your picture wall.
Repairing
Once the wall is clean, inspect it for any damages such as cracks, holes, or flaky paint. These imperfections can be fixed easily by following these steps:
- Fill any holes or cracks using a patching compound or spackle. Use a putty knife to apply the compound evenly and let it dry according to the manufacturer’s instructions.
- If there are any loose or flaky paint patches, gently scrape them off using a scraper or sandpaper. Make sure to smooth out the area and remove any loose particles.
- After repairing the wall, give it a quick wipe with a damp cloth to remove any dust or residue left behind by the repair process.
Choosing the Right Hardware
Once your wall is clean and repaired, it’s time to choose the right hardware for hanging your picture frames. The right hardware not only ensures your artwork is secure but also enhances the visual appeal of your picture wall.
Consider these factors when choosing your hardware:
- Weight Capacity: Assess the weight of your picture frames and choose hardware that can support the heaviest frame on your wall. Check the weight capacity mentioned on the hardware packaging to choose the right ones.
- Wall Type: Different types of walls require different types of hardware. If you have a drywall, opt for wall anchors or screws. For masonry walls, use wall plugs or concrete screws. Make sure the hardware you choose is compatible with your wall type.
- Location: Consider where you want to hang your frames. If it’s near windows or in high-traffic areas, choose hardware that provides extra support to prevent any accidents.
By following these considerations, you can ensure that your picture frames are securely mounted on your picture wall.
Hanging the Pictures
Style your picture wall by carefully hanging pictures in a visually appealing arrangement. Mix and match different sizes, frames, and art styles to create a personalized and unique display that reflects your taste and style.
Keeping Consistent Spacing
Maintaining consistent spacing between each frame is crucial to achieving a unified and visually pleasing arrangement on your main wall. This attention to detail ensures that the display appears well-balanced and harmonious, enhancing the overall aesthetics of the space.
Using Templates or Guides
Utilizing paper templates or specialized tools can assist in meticulously planning the layout of your main wall decor. By pre-arranging templates or employing measuring tools, you can precisely position each element before making any permanent adjustments. This strategic approach allows for better visualization of the final arrangement and ensures that the design aligns seamlessly with your aesthetic vision for the space.
Adding Personal Touches
When it comes to styling a picture wall, incorporating personal touches is essential to make it truly unique and reflective of your personality and style. By adding personal photos and mixing in other decor items, you can create a picture wall that tells a meaningful story and adds a personal touch to your space.
Incorporating Personal Photos
One of the best ways to add a personal touch to your picture wall is by incorporating your photos. Whether it’s capturing precious moments with family and friends or showcasing your favorite travel destinations, personal photos add a sense of nostalgia and intimacy to your picture wall.
Consider printing and framing your favorite photos in various sizes and styles. Mix and match frames to add visual interest and create a curated look. Displaying your photos alongside other artwork or decorative items helps to create a balanced and cohesive display.
Arrange the photos in a way that tells a story or follows a theme. You can create a chronological timeline or arrange them based on a specific color scheme or mood. Experiment with different layouts by placing the photos horizontally, vertically, or in a grid pattern, depending on the overall look you want to achieve.
Mixing in Other Decor Items
In addition to personal photos, incorporating other decor items can elevate the overall aesthetic of your picture wall. By mixing in decorative objects such as mirrors, clocks, or small sculptures, you can add depth and visual interest to your display.
Create a balance between personal photos and decorative items by interspersing them throughout the picture wall. You can hang a mirror between two framed photos or place a clock as a focal point in the center of the arrangement. This helps to break up the monotony and adds an element of surprise and creativity to the space.
Consider adding other decorative elements such as fairy lights, botanical prints, or inspirational quotes to add texture and dimension to your picture wall. These small touches can transform a basic photo display into a visually appealing and inspiring arrangement.
Enhancing With Lighting
When styling a picture wall, highlighting specific pieces with spotlights can add depth and draw attention to certain elements. Spotlights can create a dramatic and artistic effect, enhancing the overall ambiance of the display.
Utilizing Ambient Lighting
Utilizing ambient lighting is essential for creating a well-balanced and inviting atmosphere for your picture wall. Soft, indirect lighting such as wall sconces or track lighting can help to evenly illuminate the entire arrangement, adding warmth and depth.
Admiring Your Creation
Style your picture wall with creativity and thoughtfulness, showcasing your unique vision. Arrange your photos in different sizes and frames, mix and match colors and styles, and experiment with different layout options to create a captivating and personalized display.
Stepping Back and Evaluating
Now that you have carefully arranged and hung all your favorite pictures on your wall, it’s time to take a step back and admire your creation. Stepping back allows you to see the overall effect of your picture wall and evaluate how it fits in with the rest of your room’s decor.
When admiring your creation, consider the following:
- Placement: Are the pictures arranged in a visually pleasing way? Do they fill the space on the wall appropriately?
- Composition: Do the pictures work well together? Are there any gaps or overlaps that need adjusting? Is there a clear focal point?
- Balance: Does the picture wall feel balanced? Are there any areas that are visually heavier or lighter than others?
- Color and theme: Do the pictures and frames complement the color scheme and theme of the room? Are there any clashing colors or distractions?
- Alignment: Are the pictures aligned correctly? Are they straight and level?
Making Adjustments if Needed
If you notice anything that doesn’t quite meet your expectations during your evaluation, don’t worry! Making adjustments is all part of the picture wall styling process. Here are a few adjustments you can make if needed:
- Repositioning: If a picture seems out of place or you want to achieve a better balance, try repositioning it within the arrangement.
- Swapping frames: If a frame doesn’t match the overall aesthetic or clashes with the rest, consider swapping it with another frame from your collection.
- Adding or removing pictures: If the composition feels off or you have extra pictures that could enhance the display, consider adding or removing some to achieve the desired effect.
| Tip: | Take a photo of your picture wall to help visualize any adjustments you want to make. This can provide a different perspective and allow you to experiment before making actual changes. |
- Adjusting frames: If frames appear crooked or misaligned, take the time to straighten and level them. This small adjustment can make a big difference.
- Seeking feedback: If you’re unsure about certain aspects of your picture wall, don’t hesitate to ask for feedback from friends or family members. Fresh eyes can provide valuable insights.
Remember, styling a picture wall is a creative process, and it often takes a bit of trial and error to achieve the perfect look. So don’t be afraid to experiment, make adjustments, and enjoy the process of creating a stunning display of cherished memories.
Conclusion
Styling a picture wall is a creative and personal endeavor. By carefully considering the layout, color scheme, and theme, you can transform any space into a personalized showcase of memories and art. With these tips and tricks, you can bring your vision to life and create a picture-perfect display that reflects your unique style and personality.

