Painting a wall can be easy with proper preparation and technique. It requires some skill and patience.
Painting a wall is a common home improvement project that many people undertake. While it may seem straightforward, there are several factors to consider to ensure a successful outcome. Preparation is key, including cleaning the surface, repairing any imperfections, and choosing the right tools and paint.
Proper technique, such as using even strokes and allowing sufficient drying time between coats, is crucial for a professional finish. With attention to detail and some practice, painting a wall can be a relatively easy task for DIY enthusiasts. We will explore some tips and tricks to make the painting process smoother and more efficient.
Preparation
When it comes to painting a wall, proper preparation is key to achieving a professional finish. Proper preparation involves choosing the right paint and gathering essential tools and supplies.
Choosing the Right Paint
- Consider the surface type and desired finish for your wall.
- Choose between different paint types like flat, eggshell, or satin.
- Ensure the paint color complements your room’s decor.
Gathering Essential Tools and Supplies
- Painter’s tape to protect trim and edges.
- Quality paintbrushes and rollers for smooth application.
- Drop cloths or plastic sheets to protect floors and furniture.
- Sandpaper for smoothing imperfections on the wall.
Surface Preparation
When it comes to painting a wall, surface preparation is crucial to achieving a professional and lasting finish. Properly preparing the surface before applying paint can make the difference between a smooth, flawless result and a patchy, uneven mess. Surface preparation involves several key steps, including cleaning the wall and repairing any imperfections.
Cleaning the Wall
Before you start painting, it’s essential to ensure the wall is clean and free of any dust, dirt, or grime that could affect the adhesion of the paint. Start by dusting the wall with a soft cloth or a duster to remove any loose debris. For heavily soiled walls, a solution of mild detergent and water can be used to gently scrub away stains and grease. Rinse the wall thoroughly with clean water and allow it to dry completely before proceeding with the next steps. This will create a clean, smooth surface for the paint to adhere to, ensuring a flawless finish.
Repairing Imperfections
Inspect the wall for any imperfections such as cracks, holes, or peeling paint. Use a putty knife to fill any cracks or holes with a suitable patching compound, then sand the patched areas to create a smooth, even surface. If there are areas where the paint is peeling or flaking, carefully scrape away the loose paint and sand the edges to blend them into the surrounding surface. This step is essential for creating a seamless and professional-looking result.
Techniques for Seamless Painting
Painting a wall can seem like a daunting task, but with the right techniques, it can be easier than you think. By employing certain methods, you can achieve a seamless and professional-looking finish, transforming your space and giving it a fresh new look. In this blog post, we will explore some essential techniques for seamless painting and provide you with the guidance you need to tackle your wall painting project with confidence.
Cutting in for Clean Edges
If you want to achieve clean, sharp edges when painting a wall, mastering the technique of cutting in is crucial. Cutting in involves using a brush to carefully paint along the edges of the wall, where it meets the ceiling, corners, and trim. This technique helps create a neat, defined boundary between different surfaces and prevents color bleeding. Follow these steps for a flawless cutting process:
- Start by loading the paintbrush with an adequate amount of paint, making sure to remove any excess to avoid drips.
- Hold the paintbrush at a slight angle and begin painting along the edges, working in small sections.
- Use smooth, steady strokes and gradually build up the paint to achieve even coverage.
- Take your time and pay attention to detail, ensuring that the paint line is straight and consistent.
By practicing this cutting-in technique, you can achieve crisp and professional-looking edges that will enhance the overall appearance of your painted wall.
Rolling for Even Coverage
When it comes to painting large wall areas, using a roller is the most efficient method for achieving even coverage. To ensure a seamless result, follow these steps:
- Choose a roller with the appropriate nap length for your wall surface. A longer nap is suitable for textured surfaces, while a shorter nap works well on smooth walls.
- Fill a paint tray with the desired amount of paint and evenly distribute it on the roller by rolling it back and forth.
- Start rolling the paint onto the wall in a “W” or “M” motion, moving from top to bottom.
- Apply pressure evenly while rolling to ensure consistent coverage.
- Avoid overloading the roller with paint, as it can lead to drips and uneven application. Reload the roller with paint as needed.
- Overlap each stroke slightly to blend the paint and eliminate any visible lines.
By following these rolling techniques, you can achieve a smooth and streak-free finish on your painted wall.
Color Selection and Combinations
Color selection and combinations play a crucial role in the overall look and feel of a painted wall. Understanding how colors work together can help you create a visually stunning effect that enhances the atmosphere of any room. In this section, we will explore the basics of the color wheel and how you can create visual impact with your color choices.
Understanding Color Wheel Basics
The color wheel is a fundamental tool for selecting and combining colors. It consists of primary, secondary, and tertiary colors arranged in a circular format. By understanding the relationships between these colors, you can create harmonious and balanced color schemes for your painted walls.
Primary colors are the building blocks of all other colors and are not created by mixing other colors. They include red, blue, and yellow. Secondary colors are created by mixing equal parts of two primary colors. They include green, orange, and purple. Tertiary colors are formed by mixing equal parts of a primary color and a secondary color.
Using the color wheel, you can choose colors that are analogous (adjacent to each other on the wheel), complementary (opposite each other on the wheel), or triadic (forming an equilateral triangle on the wheel). Each of these color combinations can create a different visual impact on the painted wall.
Creating Visual Impact With Colors
When it comes to painting a wall, the right color combination can make a significant difference in the overall aesthetic appeal of the room. Here are some key tips on how to create visual impact with your color choices:
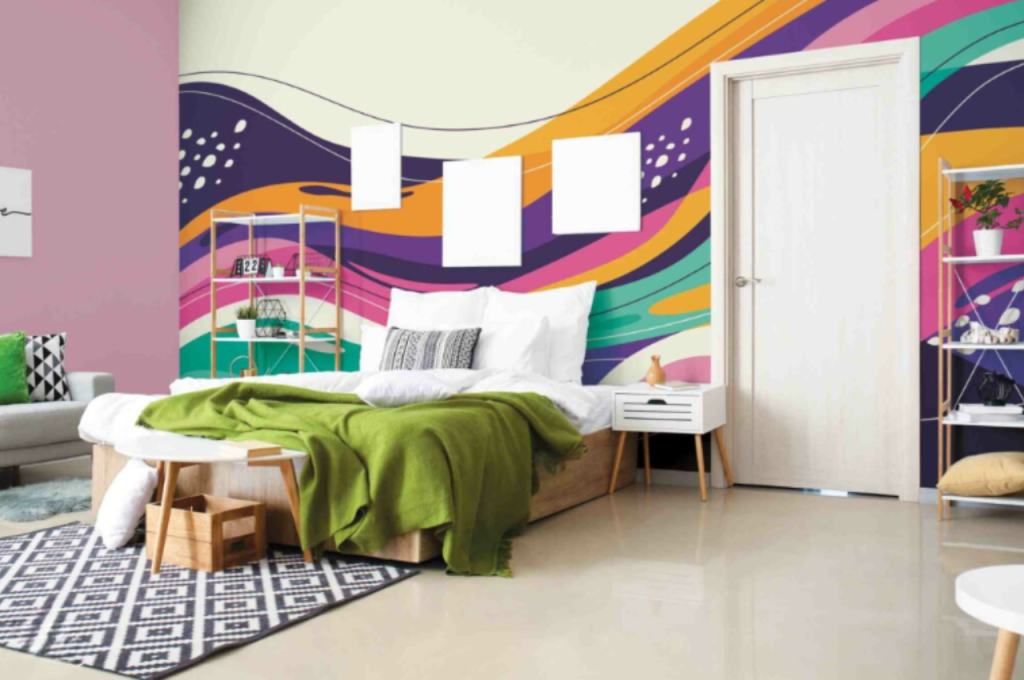
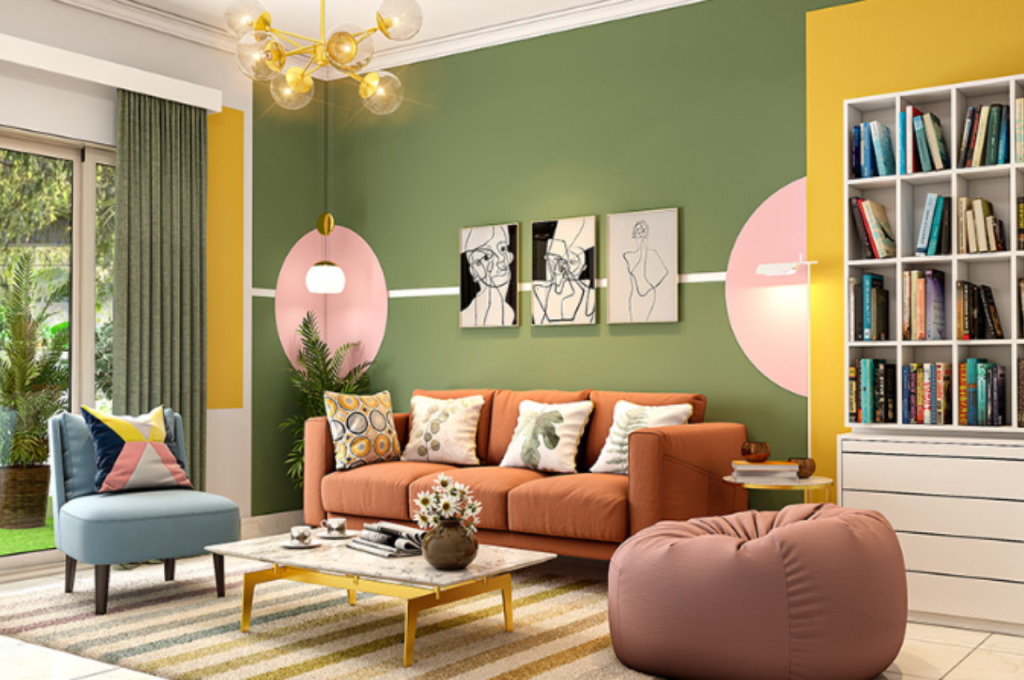
- Consider the mood you want to achieve. Different colors evoke different emotions, so think about how you want the room to feel. For example, warm colors like red and yellow can create a cozy and energetic atmosphere, while cool colors like blue and green can promote relaxation and calmness.
- Balance bold colors with neutrals. If you want to use vibrant and bright colors, it’s essential to balance them with neutral shades to avoid overwhelming the space. This can be done by painting one or two walls with a bold color and keeping the remaining walls neutral.
- Create depth with contrasting shades. Incorporating different shades of the same color or using contrasting colors can add depth and dimension to the painted wall. For instance, using a lighter shade on the upper half of the wall and a darker shade on the lower half can create an interesting visual effect.
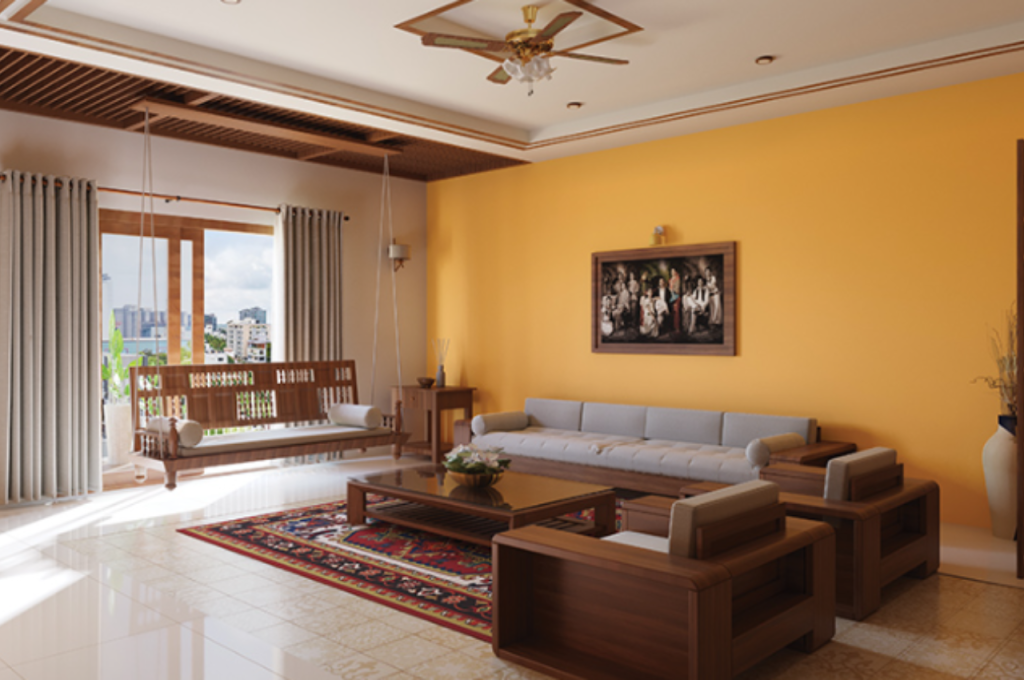
- Experiment with accent walls. An accent wall can be a focal point in a room, drawing attention and adding visual interest. Selecting a bold, contrasting color or a complementary color to the other walls can create a striking impact.
By understanding the basics of the color wheel and exploring different color combinations, you can confidently paint your walls and achieve the desired visual impact. Take the time to consider the mood you want to create, balance bold colors with neutrals, and experiment with different shades and accent walls. Let your creativity soar as you transform your living spaces with the power of color.
Advanced Tips and Tricks
Advanced Tips and Tricks for painting walls can elevate the aesthetic appeal of your living space. From mastering texture and patterns to utilizing tape for designs, implementing these techniques can transform ordinary walls into stunning focal points. Whether you’re a seasoned painter or a novice DIY enthusiast, these advanced methods will take your wall painting game to the next level.
Mastering Texture and Patterns
Creating stunning textures and patterns on your walls can add depth and character to a room. Before starting, ensure the wall is clean and properly prepared. Consider using specialized tools like sponges, brushes, or rollers to achieve different textures. Experiment with techniques such as stippling, rag rolling, or stenciling to create captivating patterns that complement your decor. Through practice and patience, you can achieve unique and visually appealing results that enhance the overall ambiance of the space.
Utilizing Tape for Designs
Tape can be a valuable tool for achieving precise and intricate designs on walls. Whether you’re aiming for geometric shapes, stripes, or intricate detailing, masking tape provides a clean edge and helps prevent paint bleed. Before applying the tape, ensure the base coat is dry and firmly adhere the tape to the wall, checking for any gaps or air bubbles. Once the design is painted and dry, carefully remove the tape to reveal sharp and professional-looking patterns. This method opens up endless possibilities for creating visual interest and focal points within a room.
Troubleshooting Common Painting Mistakes
Painting a wall may seem easy, but there are common mistakes that can occur. Troubleshooting these errors can help achieve a smoother and more professional finish.
Dealing With Drips and Runs
Before addressing any drips or runs, it’s essential to ensure that the paint has dried completely. Attempting to fix them while the paint is still wet can lead to further smudging and uneven surfaces. Give the paint ample time to dry according to the manufacturer’s instructions before attempting any touch-ups or corrections. This patience ensures a smoother and more professional finish to your painting project.
Fixing Uneven Paint Coverage
To address uneven paint coverage, apply another coat for a smooth finish. Blend the edges with a featherlight touch for seamless results.
Final Touches and Clean-up
Ensuring Final Touches and Clean-Up are completed properly is essential to achieving a professional finish when painting a wall.
Adding Finishing Details
Small details can make a big difference in the overall appearance of your painted wall.
Properly Cleaning Painting Tools
Cleaning your painting tools properly is crucial to maintaining their quality and ensuring longevity.
Conclusion
Painting a wall may seem easy, but it requires attention to detail and the right tools. By following the right steps and taking your time, anyone can achieve a professional-looking result.
With the tips and techniques discussed in this blog post, you can confidently tackle your next painting project and achieve great results.

